
Create Your First CADStudio Drawing
Start from an empty CADStudio canvas and create a point, line, circle, closed polyline, text label, and dimension.
Use this tutorial for the first hands-on CADStudio pass.
The walkthrough starts with an empty drawing, adds simple geometry, then finishes with text and a dimension so you can see how the canvas, left toolbar, right properties panel, and bottom drawing controls work together.
Related: CADStudio Interface and Controls, CADStudio Drawing Tools, Saving and Loading in CADStudio.
Start with the empty canvas
Open CADStudio and use the left toolbar to choose the first drawing tool. The right panel starts with Layers, Tool Options, and an empty Properties panel.
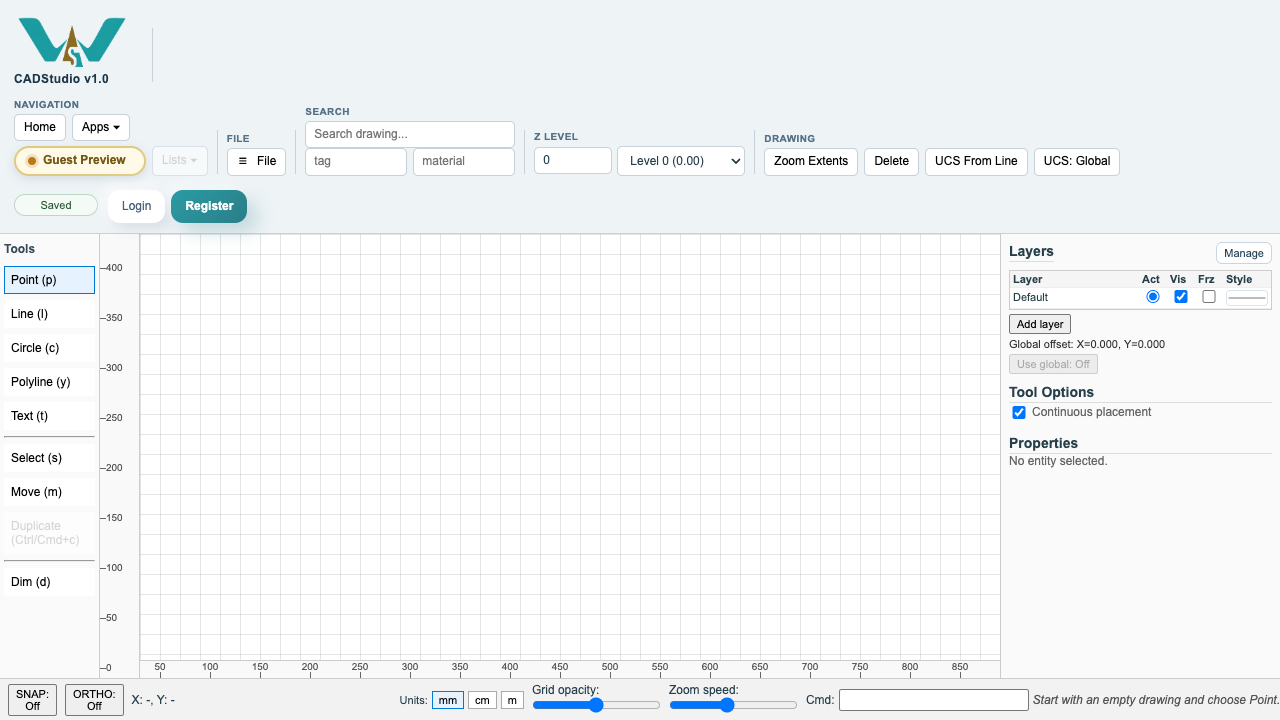
Create the first point
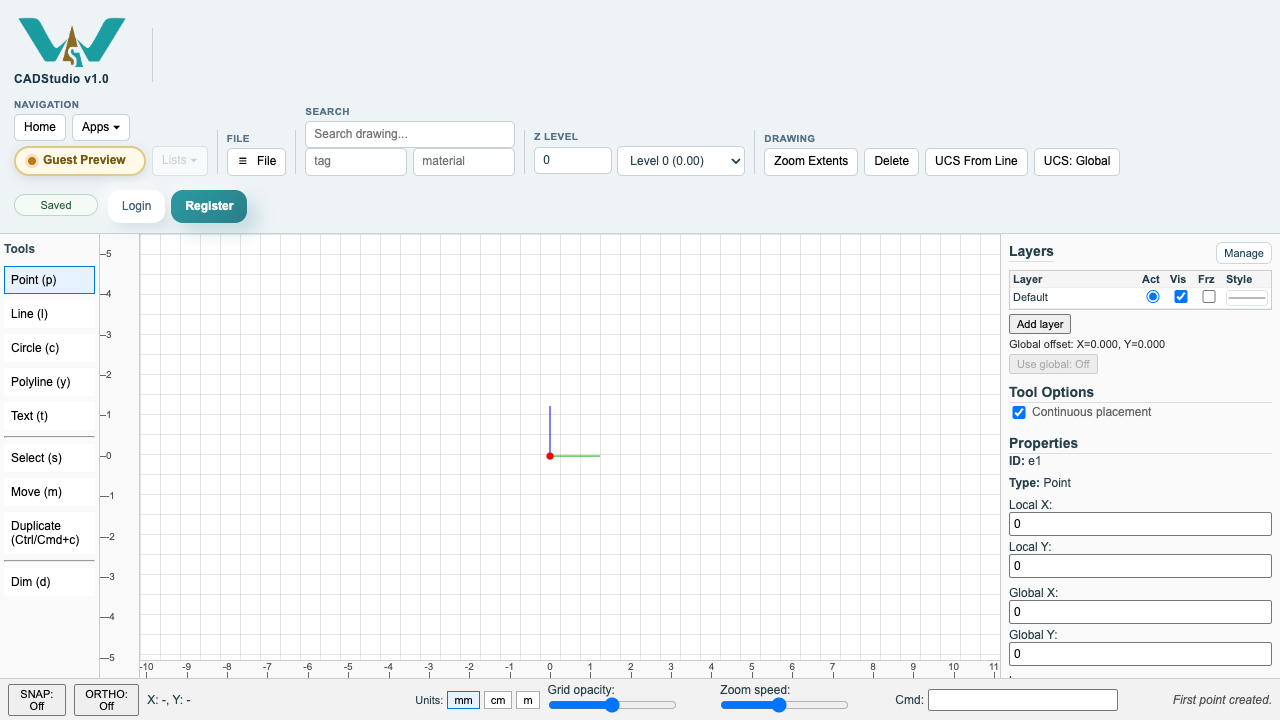
Choose Point, place the point, and select it. The Properties panel now shows coordinates, layer, point scaling, Z values, notes, tags, and materials.
Preview a line before committing it
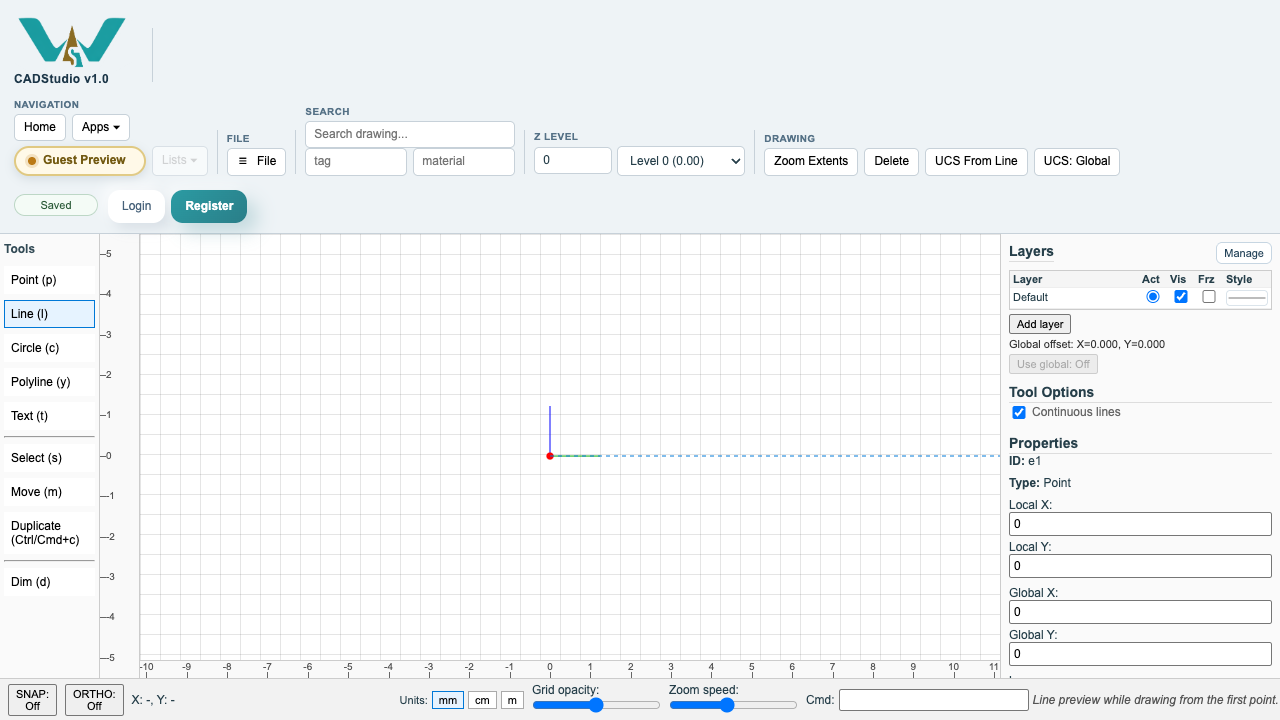
Choose Line and start from the point. CADStudio shows a dashed preview so you can see where the line will go before the next click.
Add a line and circle
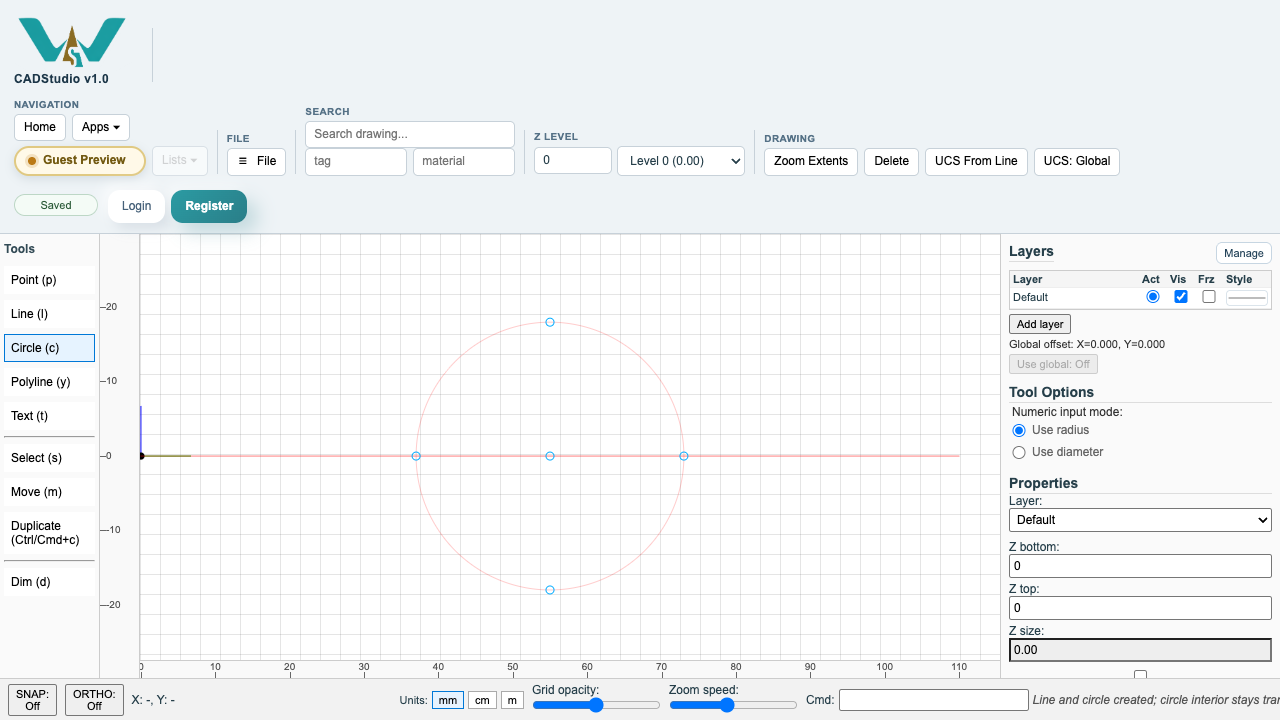
Commit the line, then add a circle. Circle interiors stay transparent so objects inside the circle remain reachable.
Close a polyline
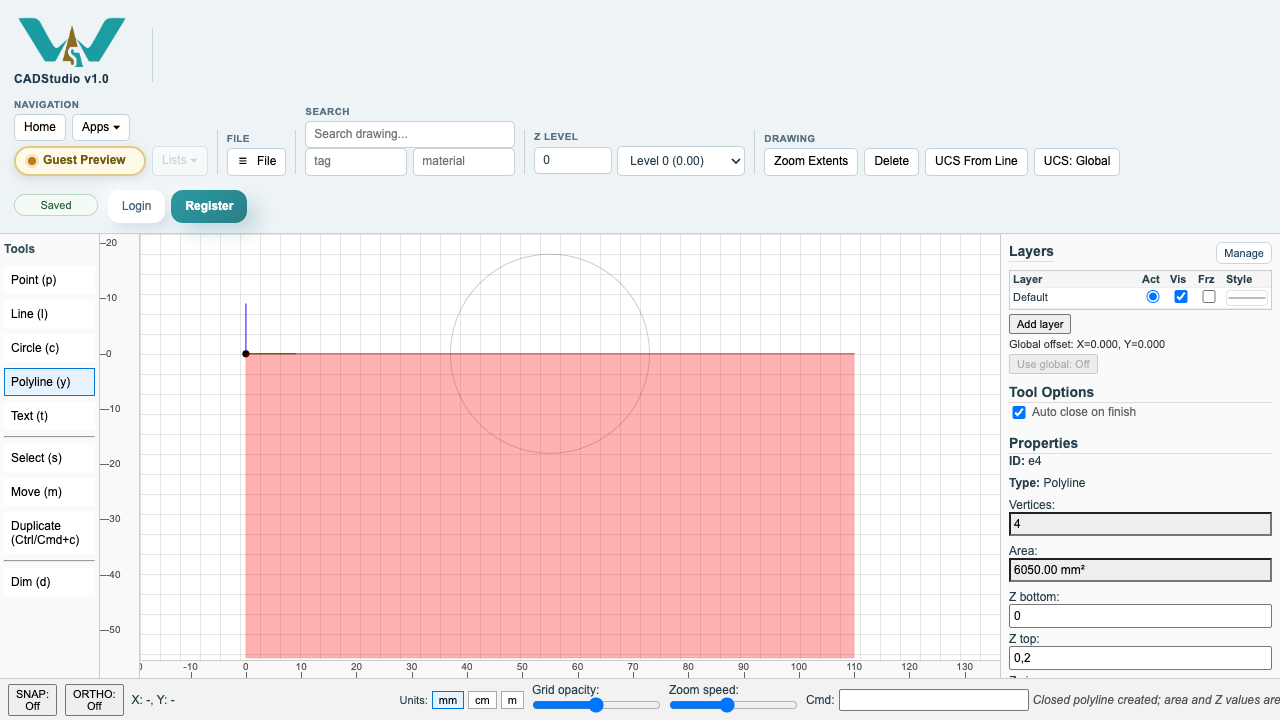
Create a closed polyline when the shape should report area and carry Z bottom / Z top values.
Add text and a dimension
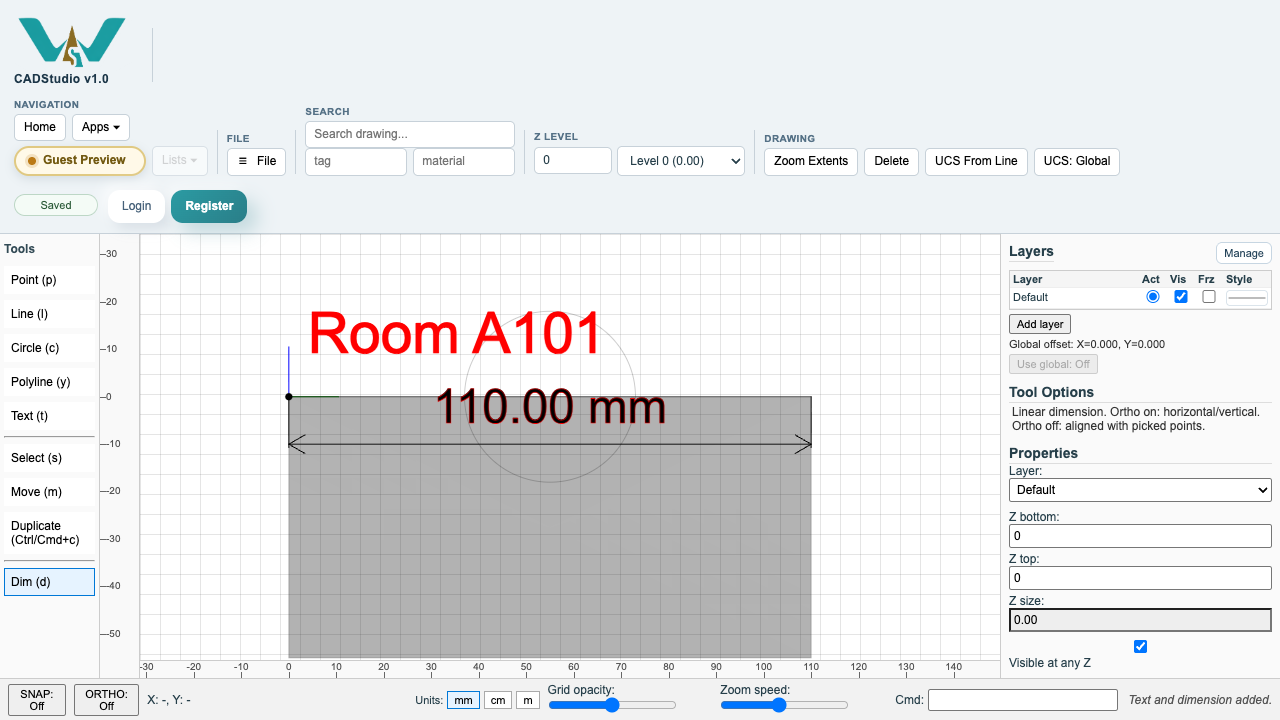
Finish the starter drawing with a text label and a linear dimension. Text and dimensions can be marked visible at any Z when they should stay available across levels.
Enable JavaScript to use reading progress and usefulness ratings.